.png)

SHARE

Latest E-zine


Commercials
More Posts


May 12, 2025
The Rise of Low-Sugar and Sugar-Free Candies


Feb 11, 2025
Himachali Chana Madra - By Chef Reetu Uday Kugaji


Mar 15, 2025
Rajesh Kumar Takes Charge as Unit Manager at Sodexo

Jan 22, 2025
Stuffed Pumpkin Blossoms - By Chef Subodh Upadhyay


.jpeg)


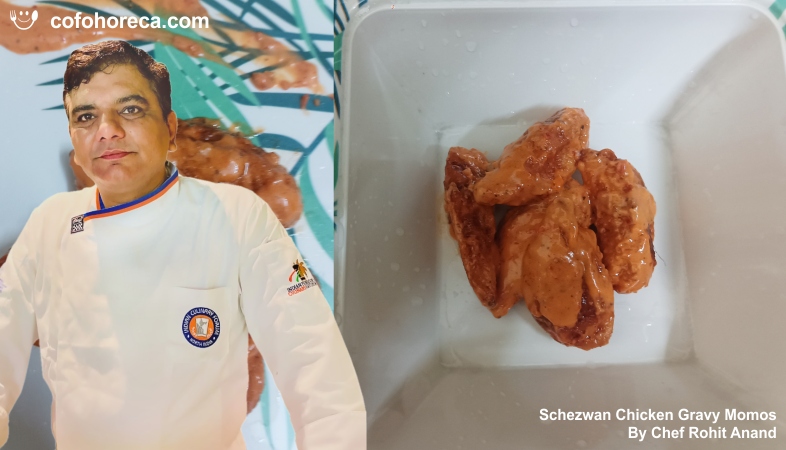
Apr 08, 2025
Schezwan Chicken Gravy Momos - By Chef Rohit Anand

May 12, 2025
The Rise of Low-Sugar and Sugar-Free Candies
Feb 11, 2025
Himachali Chana Madra - By Chef Reetu Uday Kugaji
Mar 15, 2025
Rajesh Kumar Takes Charge as Unit Manager at Sodexo
Jan 22, 2025
Stuffed Pumpkin Blossoms - By Chef Subodh Upadhyay
Apr 08, 2025