Sculpted Cakes: A Step-by-Step Guide to Making Cakes That Look Like Real Objects
Sculpted cakes have gained immense popularity in recent years, with talented bakers pushing the boundaries of creativity.
Cake decorating has come a long way from simple frosting and
fondant designs to full-fledged sculpted masterpieces that look like real
objects. Sculpted cakes have gained immense popularity in recent years, with
talented bakers pushing the boundaries of creativity. These cakes are often the
centerpiece of a celebration, whether it's a birthday, wedding, or special
occasion, and can be designed to resemble almost anything, from animals to
cars, shoes, and even people. Crafting a sculpted cake is an intricate process
that requires skill, patience, and a deep understanding of cake structure. In
this step-by-step guide, we’ll walk through the basics of sculpting a cake that
looks like a real object.
Step 1: Choose Your Design and Plan Ahead
Before you start baking, it’s essential to choose the object you want to replicate and plan how you're going to break it down into manageable steps. This involves considering the shape, size, and details of the object. For example, if you're planning to create a sculpted cake that looks like a handbag, think about the general shape (rectangular or square), the details like handles or zippers, and any additional elements such as textures or patterns. The more detailed your planning, the easier the sculpting process will be.
Step 2: Bake Your Cake Layers
Once you’ve settled on the design, the next step is to bake your cake layers. For sculpted cakes, you’ll need a sturdy cake that can withstand the carving process without falling apart. Dense cakes like pound cake, mud cake, or sponge cake work well for sculpting because they provide a firm base. Bake your cake in large pans, as the size of the cake will determine how much carving you’ll need to do later.
Allow the cakes to cool completely before moving on to the next step. It’s also advisable to let the cakes sit overnight in the fridge; this will make them firmer and easier to carve.
Step 3: Shape the Cake
Now comes the fun part – sculpting! Using a serrated knife, begin carving the cake into the basic shape of your object. Start by trimming off the top and sides to create the rough outline of the shape. For instance, if you’re making a shoe, you’ll start by shaping the sole and then slowly carve the rest of the details like the upper part of the shoe. Remember, you don’t have to get it perfect on the first go; it’s always better to start with rough cuts and make finer adjustments later.
It’s a good idea to keep your design or reference image nearby during this process. Working in small, controlled steps helps to avoid taking off too much cake at once. You can use tools like carving knives, a cake leveler, or even a bread knife for larger cuts.
Step 4: Add a Crumb Coat
Once the basic shape of your cake is complete, it’s time to add a crumb coat. A crumb coat is a thin layer of frosting that helps seal the crumbs and provides a smooth base for the fondant or additional layers of icing. Apply a layer of buttercream or ganache evenly over the entire cake, ensuring that it covers all the exposed areas. After applying the crumb coat, chill the cake for about 30 minutes to allow it to firm up.
Step 5: Apply Fondant or Buttercream for Smoothness
With the crumb coat set, you’ll now need to cover your cake with fondant or buttercream to achieve a smooth surface. If you're using fondant, roll it out into a large sheet and gently drape it over the cake, smoothing out the edges and seams with a fondant smoother. For buttercream, apply a thick layer on top and smooth it out to create an even texture.
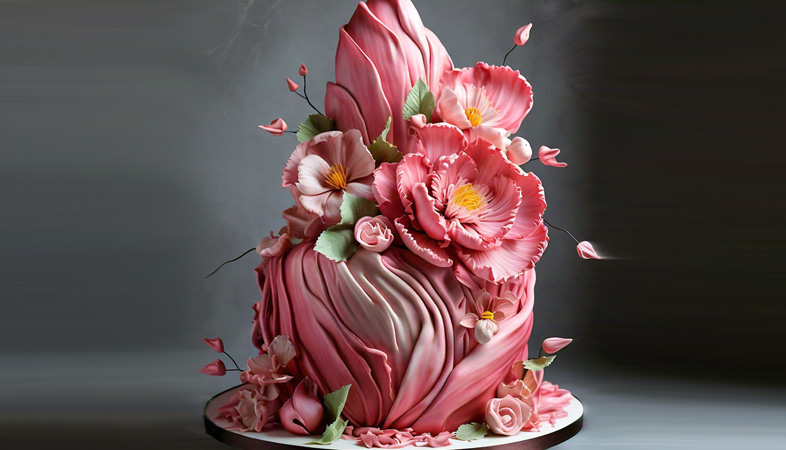
When applying fondant, be mindful of the shape and design of the object you’re replicating. You may need to add additional details such as folds or textures in the fondant to make the object look more realistic. For example, if you’re sculpting a handbag, you might need to create soft wrinkles or creases in the fondant to mimic the leather texture.
Step 6: Add Details and Textures
The details are what bring your sculpted cake to life. At this stage, you can add intricate features like patterns, textures, and decorations. You can use tools like modeling paste, edible markers, or sculpting tools to add fine details. For example, if you're creating a car cake, you can use black fondant to create tires and silver edible paint for detailing the rims.
Using airbrush techniques or edible paints is a great way to add depth and color to your sculpted cake. Airbrushing gives the cake a smooth, professional look, and it’s excellent for adding shading and highlights to make your cake look more realistic. Additionally, edible glitter or metallic dust can be used to enhance certain aspects of the design, like the sparkle on a diamond ring or the shine of a polished surface.
Step 7: Final Touches and Presentation
Once all the details are in place, it’s time for the final touches. Take a step back and review your cake to ensure all the details are cohesive and well-executed. You can add additional elements like ribbons, bows, or edible decorations to complete the look. Depending on your design, placing the cake on a decorative board or stand can also elevate its appearance.
When displaying your sculpted cake, make sure it’s placed in a cool, dry environment to prevent the fondant or decorations from melting or softening.
Sculpting a cake that looks like a real object requires patience, creativity, and skill. While it may seem like a daunting task at first, breaking the process down into manageable steps can help make it more approachable. With a little practice, you’ll be able to create incredible edible masterpieces that not only look like real objects but taste delicious too. Whether you’re making a cake for a special occasion or just experimenting with a new design, sculpted cakes allow you to express your artistic talents and create something truly unique.
.png)


