.png)


SHARE

Latest E-zine


Commercials
More Posts


.jpg)
Jul 08, 2025
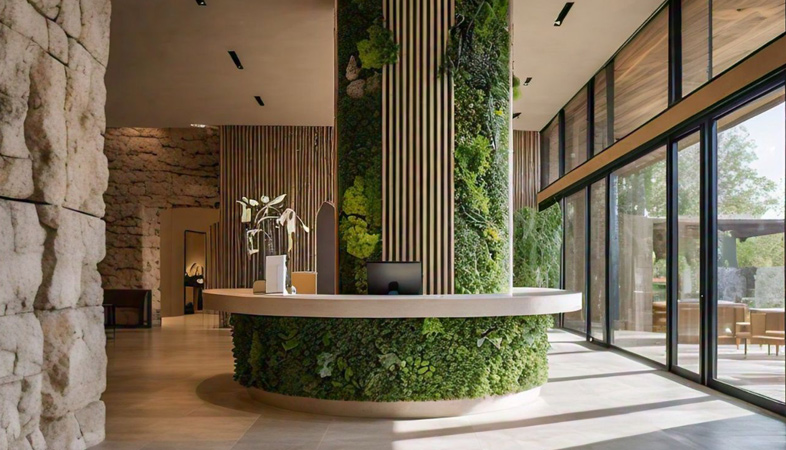
Green Hotels: Implementing Eco-Friendly Initiatives
Jul 08, 2025